How to build a keyboard with raspberry pi pico
Prerequisites
-
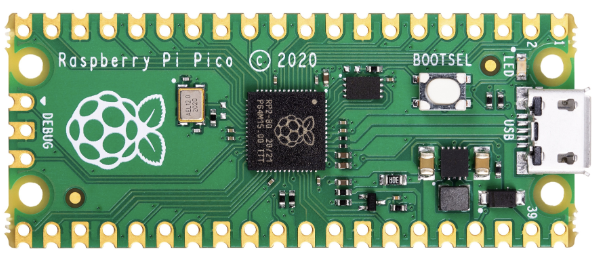
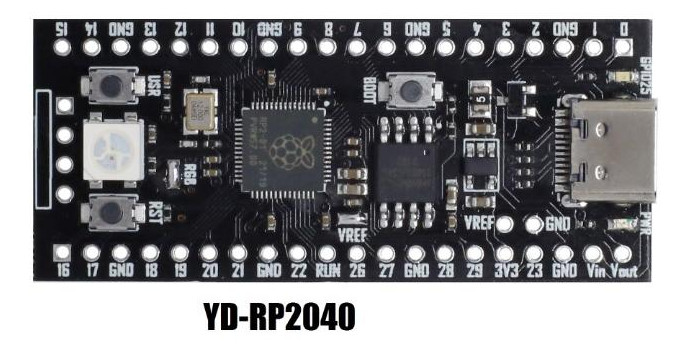
raspberry pi pico board or compatible board
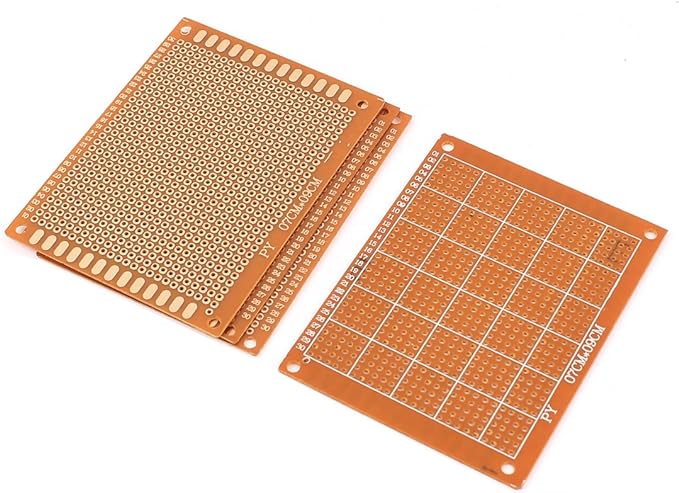
- breadboard 7cm * 9cm
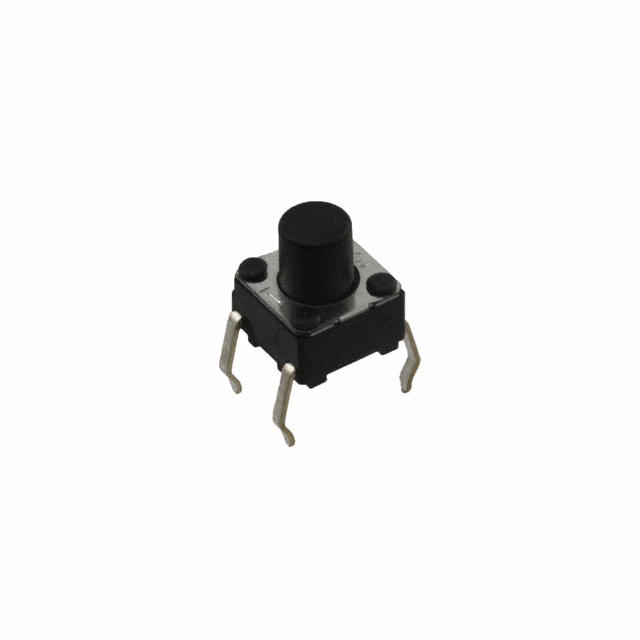
- many Omron B3F-1060(6mm * 6mm * 7mm) switchs, depend on how many keys you want
- some thin cables

-
pc for writing keyboard firmware to raspberry pi pico
-
solder tools
-
hot glue gun and glue sticks
-
some other tools
Design your Keyboard
I build 60 to 80 keys keyboard for my DIY handheld computers. In this post, I will describe how to build a 60 keys small keyboard based on Raspberry Pi Pico and CircuitPython.
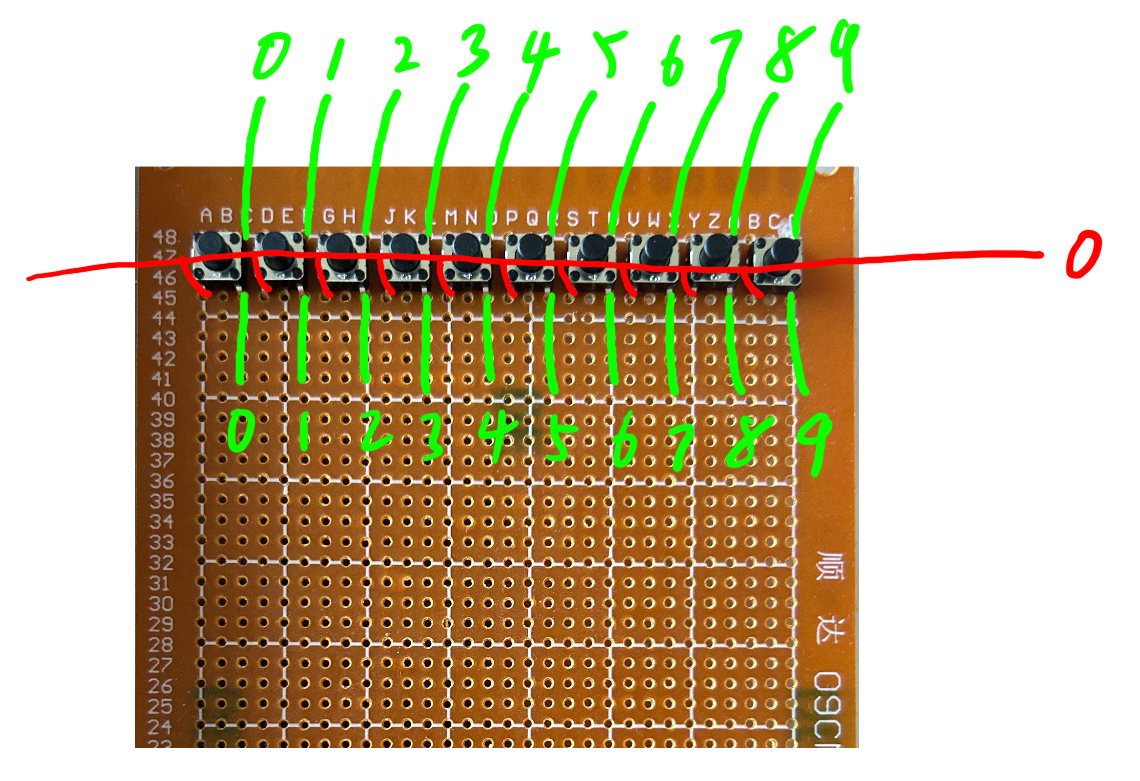
Place all your switches
place 10 switches a line like below, the green lines with the same number is already connected inside the key switch, the red line connected to every key switch’s one left pin, so, in this schematic, if connect green 0 to low voltage(ground) and press the 0 key switch, the red line 0 will output low voltage, and, release the key, the red line 0 will remain what voltage it’s been set by MCU.
Full keyboard and Raspberry Pi Pico schematic
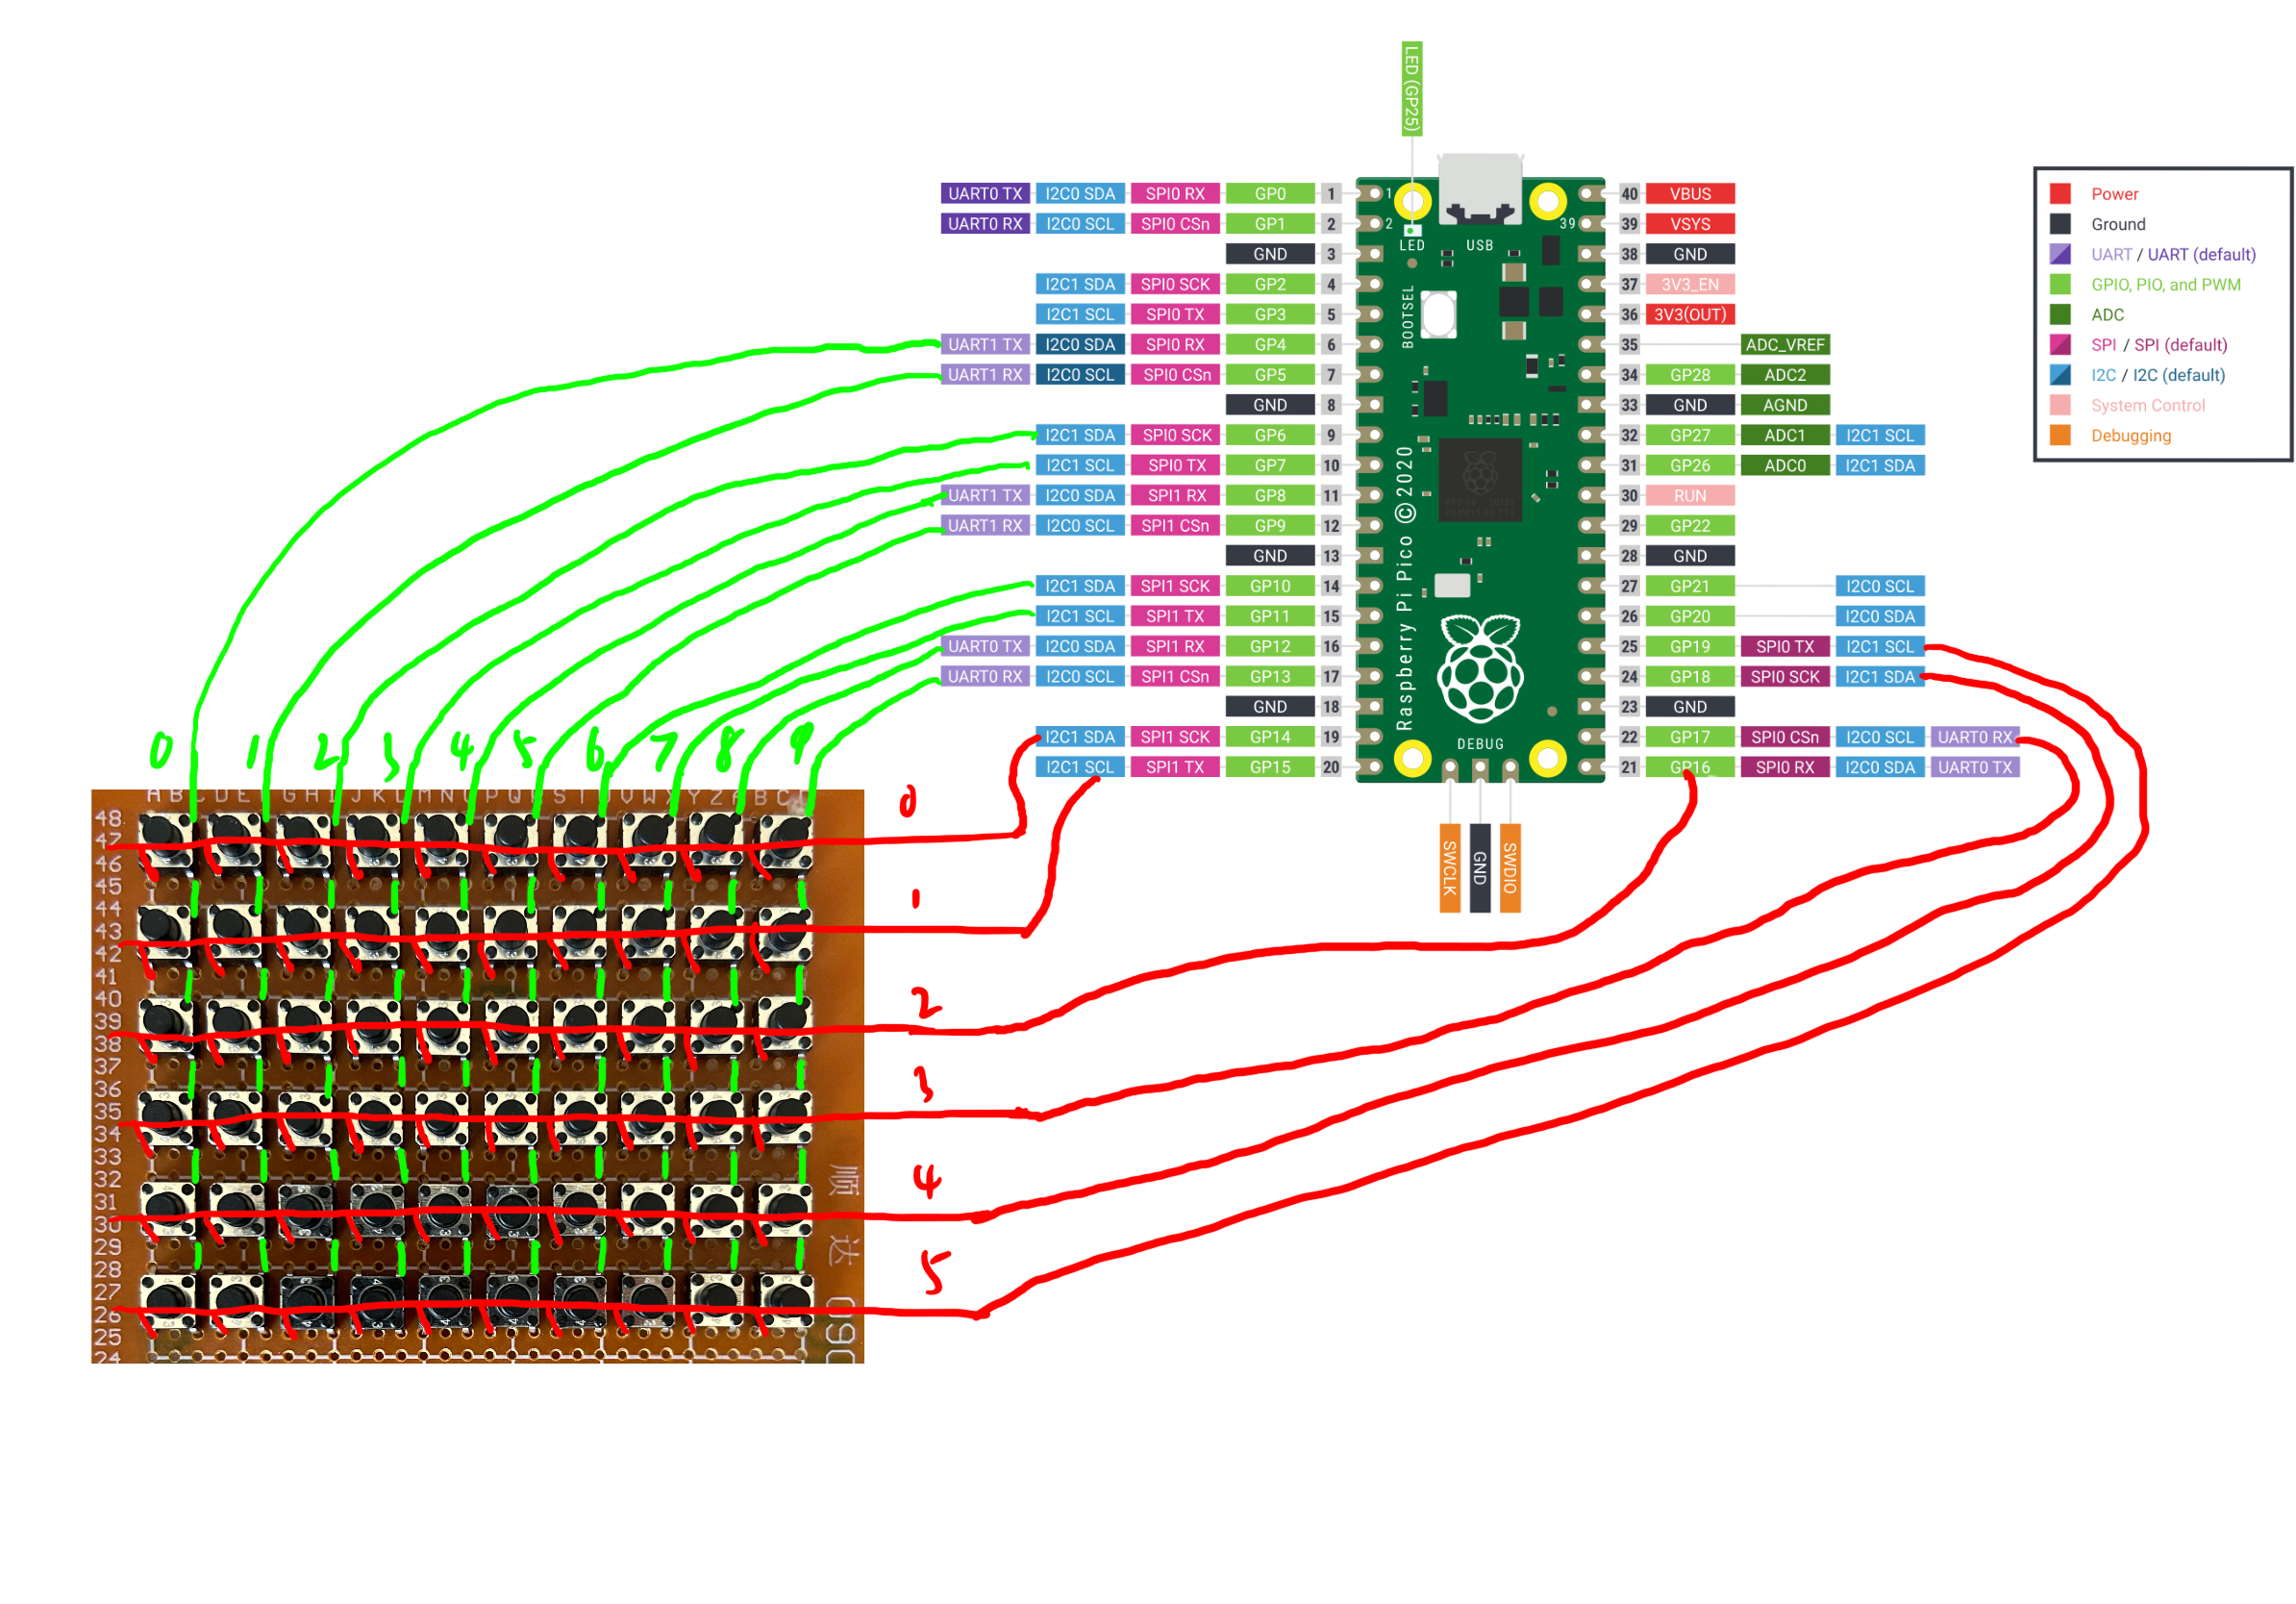
The green and red lines is only for schematic, you should solder the keys on breadboard’s back. After you solder all the keys and cables to the Raspberry Pi Pico GPIO pins, the rest is firmware(software).
Keyboard Firmware
I use CircuitPython to develop my DIY keyboard, the 60 keys keyboard firmware based on my self developed pico scheduler is here on my GitHub: keyboard_60keys_pico_scheduler
First, you need install CircuitPython firmware on your Raspberry Pi Pico, get it from here: CircuitPython Raspberry Pi Pico
Then, copy my keyboard_60keys_pico_scheduler code on your Raspberry Pi Pico, run the code.py. Congratulations, you get a little usb keyboard, which you can use it in your handheld or portable DIY projects.
If you have any questions, leave a issue on my GitHub project, I will response later.